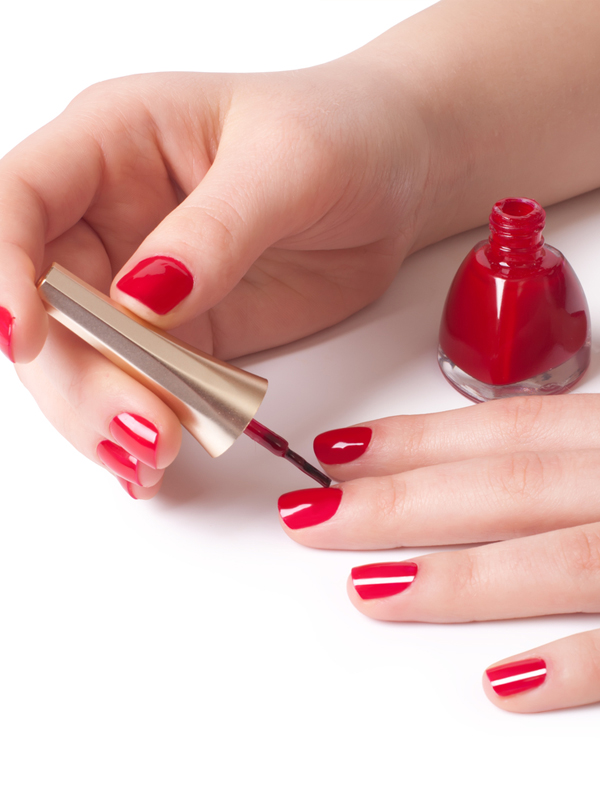
Thanks to nail art and bright new polishes, attention to nail care is at an all-time high. Unfortunately, most of us are on a budget and can’t afford to treat ourselves to a professional shellac polish manicure, but that’s why we came up with this step-by-step guide to doing it on your own. Remember that DIY is only as homemade-looking as you make it, so don’t worry about this looking like your worst memories of your at-home French manicure from once-upon-a-time (because I think we’ve all been there too).
Step 1: Remove existing nail polish and file nails
After using an acetone-free nail polish remover (always), file nails into your preferred shape. Afterwards, push down your cuticle, but avoid cutting them on your own. Pro tip: never actually cut your cuticles unless you’re seeing a professional manicurist (and even then, there are strict guidelines they should be following).
b) Apply sunscreen to your hands. Even though these UV lamps have been proven not to be damaging to your skin, you’ll want to protect yourself to cover all bases.
Step 2: Apply base coat
Like you would with any manicure, apply a base coat before polishing. However, shellac polish manicures call for a shellac base coat, so make sure you’re not using the type you’d normally opt for.
Step 3: Apply shellac polish
And now here’s the fun part: after choosing your colour, apply your shellac polish in the same way you normally would. However, between coats (you should apply two), put your hand under the UV lamp for two minutes before coating for the second time.
Step 4: Apply top coat
After you’ve cured your second layer, apply your topcoat that will help prevent chipping and give your nails that coveted shine. Afterwards, cure for another two minutes and then wipe down nails to remove any stickiness.
Step 5: Attend to nails every day
It sounds high maintenance, but when we say attend we mean apply oil to your nails to make sure the cuticle stays moisturized on a daily basis. Usually, it takes only about a drop each, and about 30 seconds to massage oil into your nails, so don’t worry about your shellac polish manicure eating up too much of your day “ especially since they last for up to two weeks (and in some cases in even more), provided you use gloves to wash dishes and avoid applying any sort of acetone-based products to your hands (always and forever).


