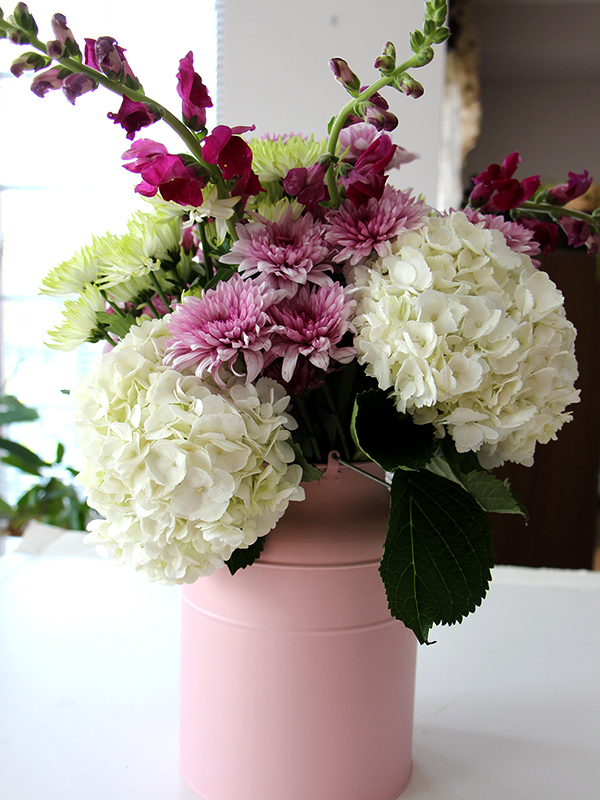
Mother’s Day is the number one day for floral sales, and a pretty bouquet is a great way to say, "Thank you mom". It might be easy to just pick up a supermarket bouquet, but with a little bit of knowledge and a pretty vase, you can make your own floral bouquet that will stand out, and show how much you love her. Here’s a step by step guide to create a beautiful mother’s day bouquet for under $40.
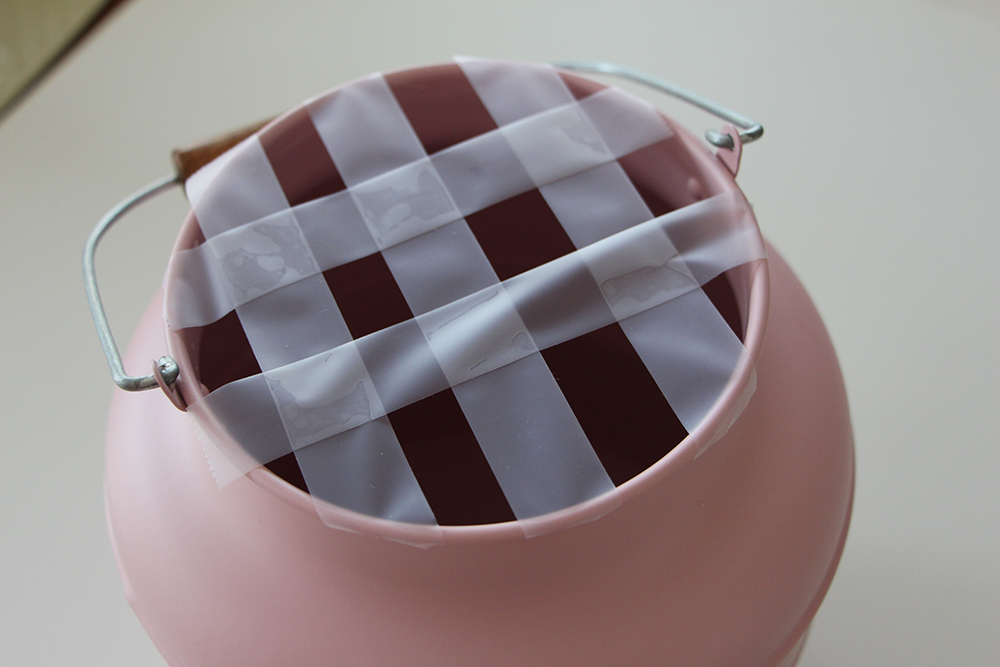
1. Prep your vase by filling it with water halfway and emptying 1-2 floral food packets. A unique vase will add to the appeal of your bouquet, so pick up a large mason jar or a pretty pastel milk jug, like this Socker jug set from IKEA. Next, use clear tape to create a grid. This will keep your flower stems in place and make arranging them easier.
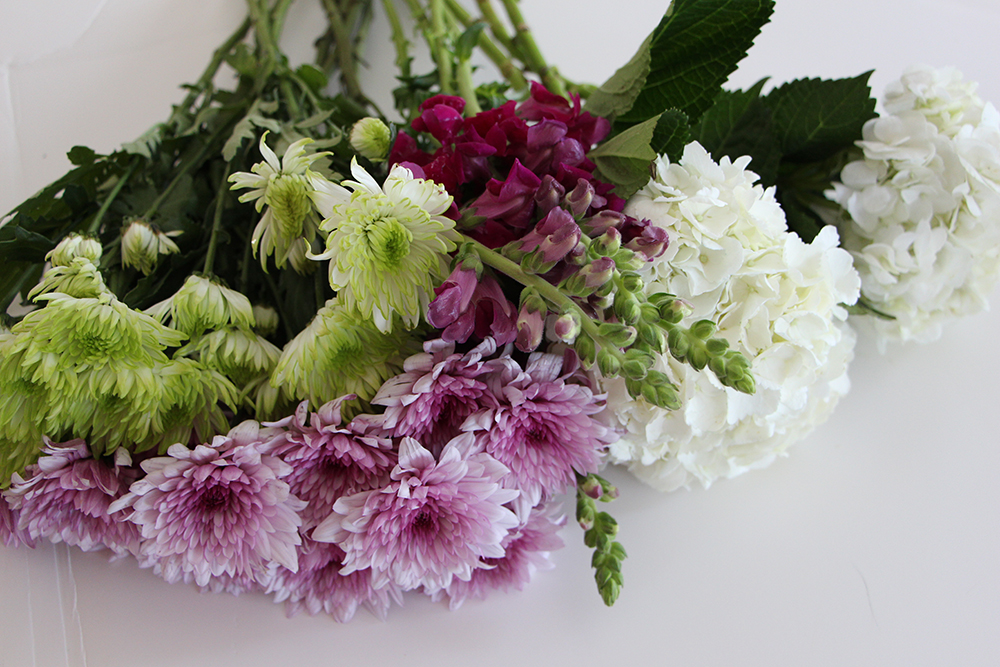
2. Gather your flowers. I’m using large white hydrangeas, purple and light green chrysanthemums, and deep purple snapdragons for height. All of these came from the grocery store, so you don't need to break the bank at an upscale florist. If you are unsure which colours go together, stick with one colour to create a monochromatic look. Hydrangeas symbolize perseverance, while snapdragons symbolize graciousness, both fitting adjectives for any mom!
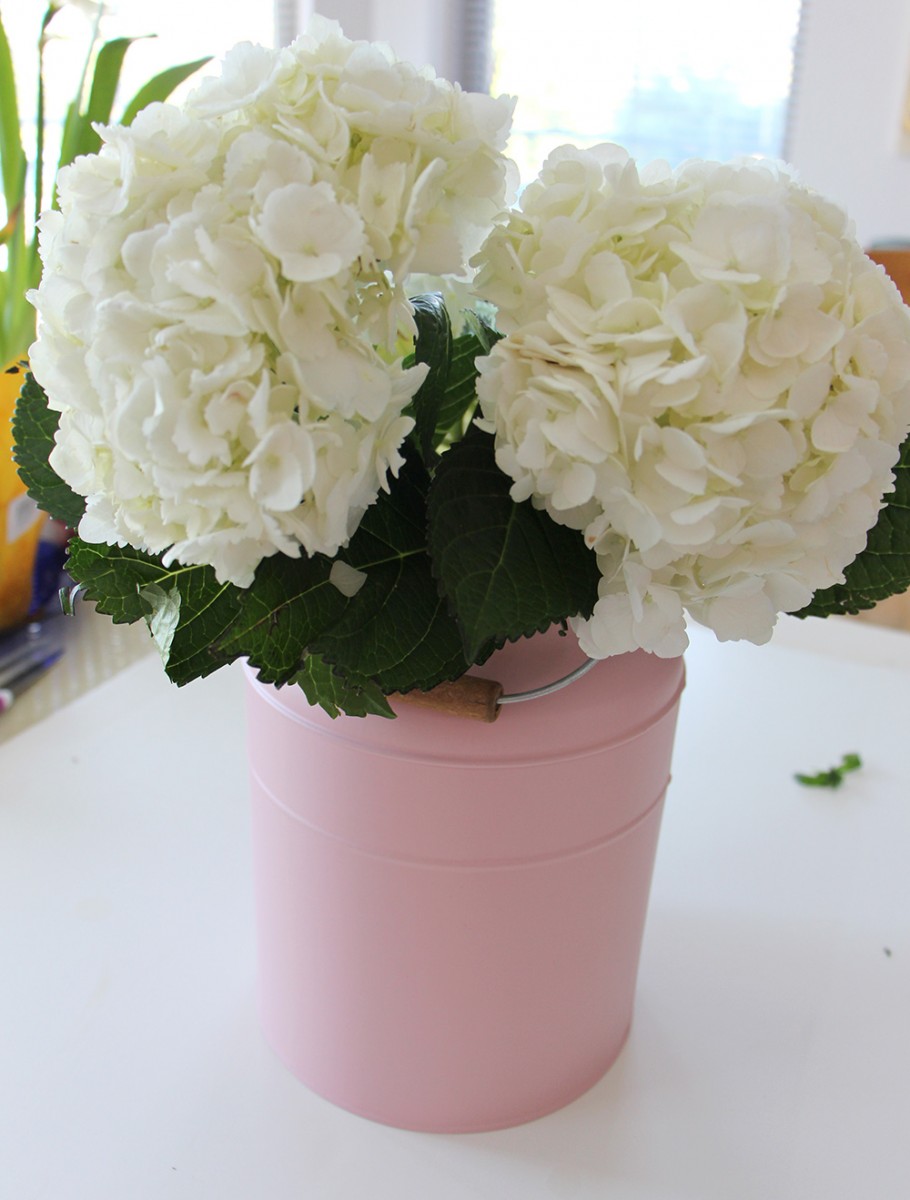
3. Start by placing the large, puffy hydrangeas along the perimeter of the vase. Always make sure to cut at least a couple inches off the stem so that the flower can soak up water and nutrients. For these large hydrangeas, cut off enough so that the heads float just above the rim of the vase.
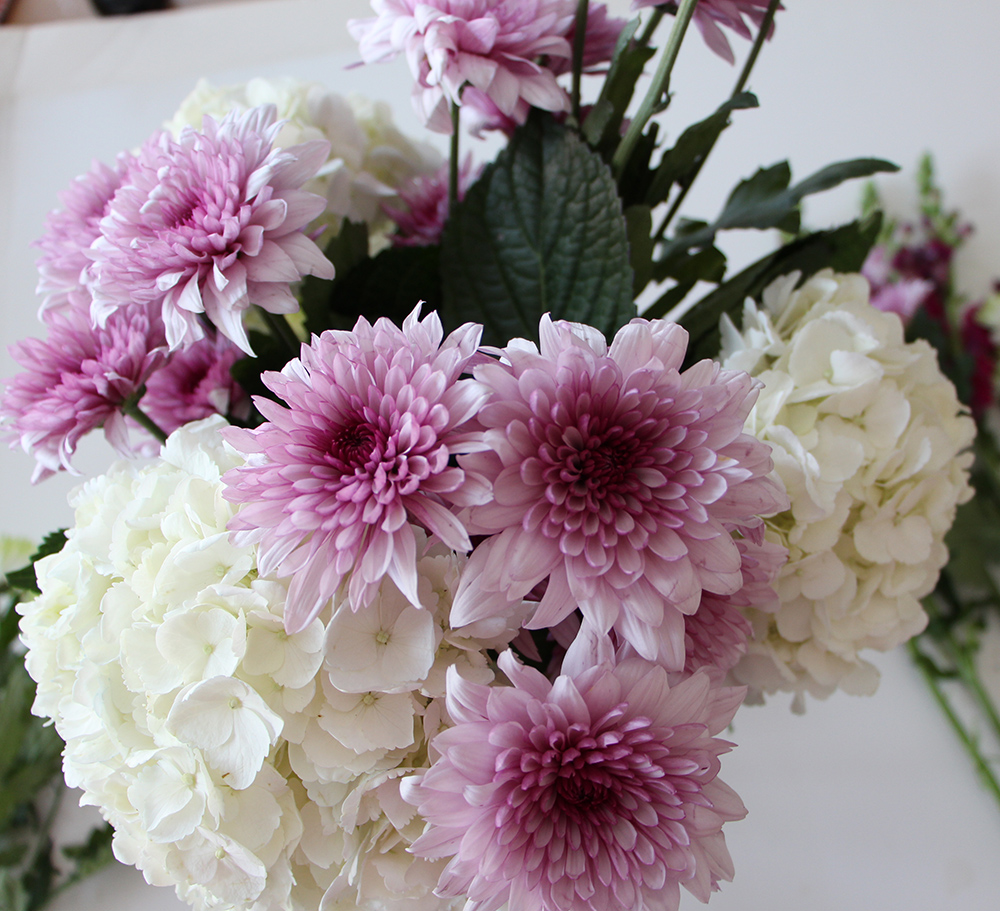
4. Next, take the purple mums and fill in the spaces between the hydrangeas around the perimetre of the vase. Cut their stems so that they are slightly taller than the hydrangeas. This way, you are slowly building height in a mound.
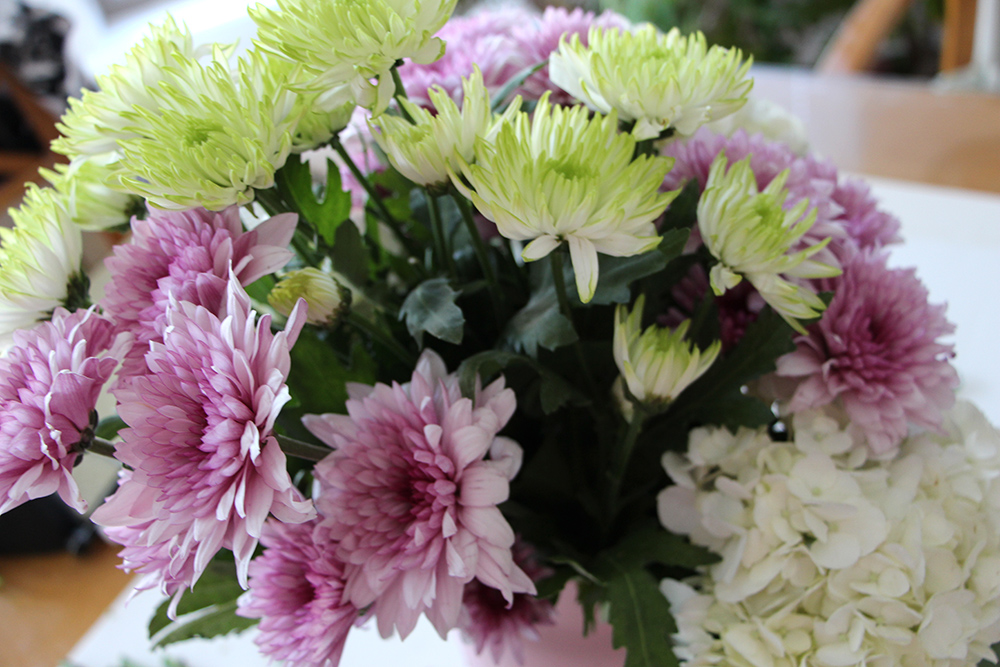
5. Take the contrasting green mums and place them in between the purple mums and hydrangeas, but more towards the centre. Leave their stems longer to continue building the height of the bouquet.
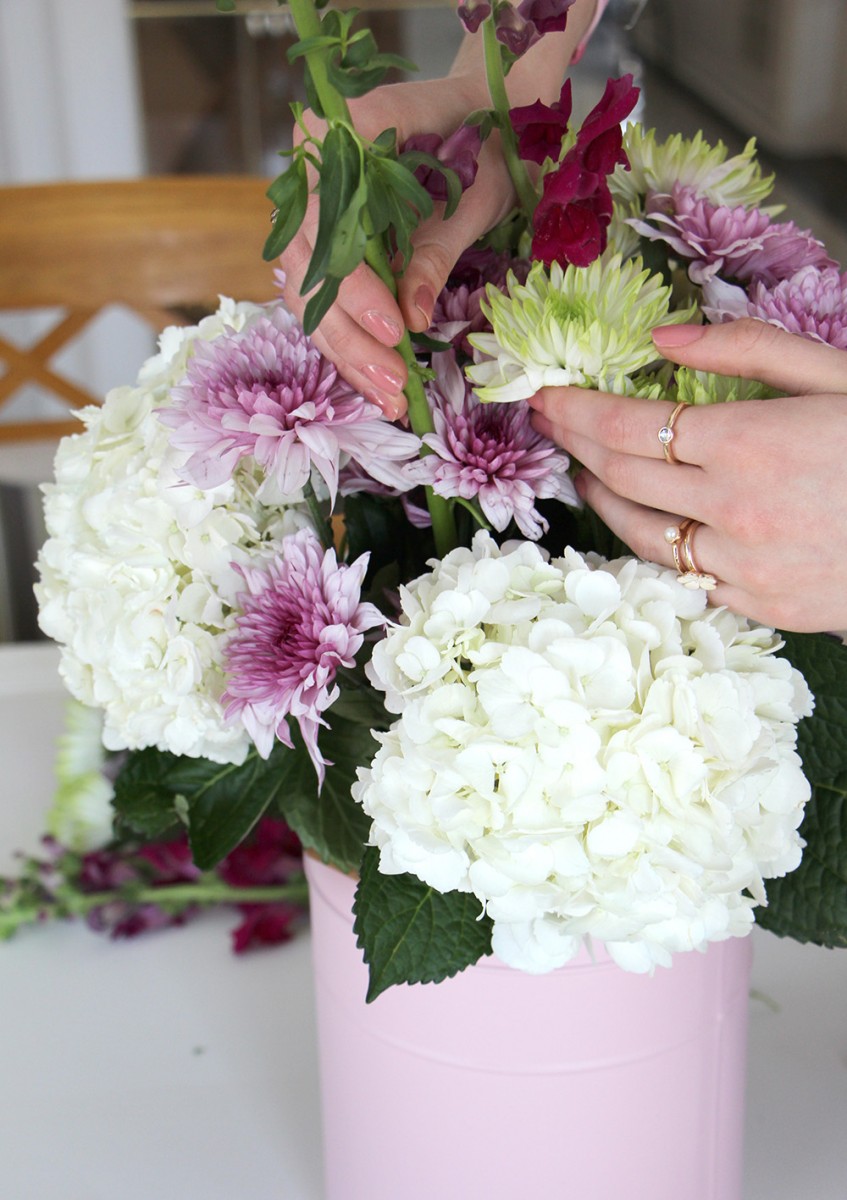
6. Take the snapdragons and only cut off a couple inches so that the tall flowers peek out from the mound of mums. Place them in the centre sporadically to add heigh and visual interest to the bouquet. While you can keep the look simple with mums and hydrangeas, taller, thin flowers like snapdragons add a more ecclectic and undone vibe that is very trendy right now in flower arranging!
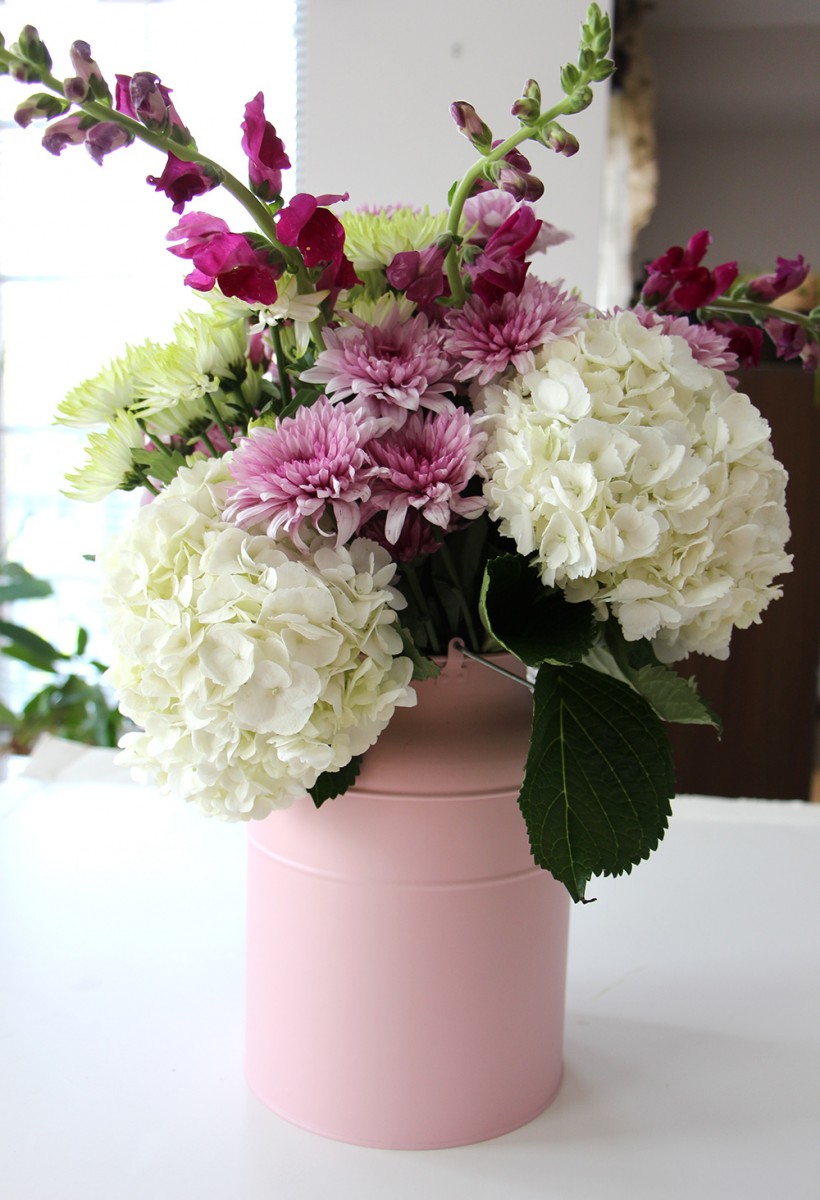
7. Take the remaining green and purple mums to fill in any gaps within the arrangement. You can also cut their stems shorter and place them around the rim, letting the blooms face outward to fill up negative space.


