By Alison McGill
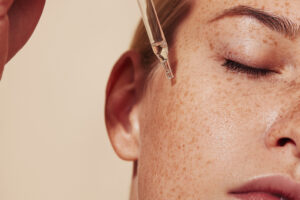
It’s one of the greatest makeup techniques of all time, and perhaps one of the trickiest to master. Contour has come and gone over the decades since it was first used by Hollywood makeup artists in the early days of cinema to create facial definition on black and white film. According to Stéphane Côté, digital education manager for MAC Cosmetics, contouring has a moment every decade…and we are currently in the midst of it.
“I love that we now benefit from the evolution of contour over the years and have many ways to use it,” says Côté. “One of the most popular techniques right now is a matte, taupe-toned contour which was huge with supermodels in the ‘90s. Today, we also have the benefit of advances in technology with tools, as well as products with innovative textures and long-lasting wearability.”
Want to brush up on the best contour practices? Here, Côté gives us a complete course—read on as he spills the secrets to contouring success.
What are the key areas of the face to contour?
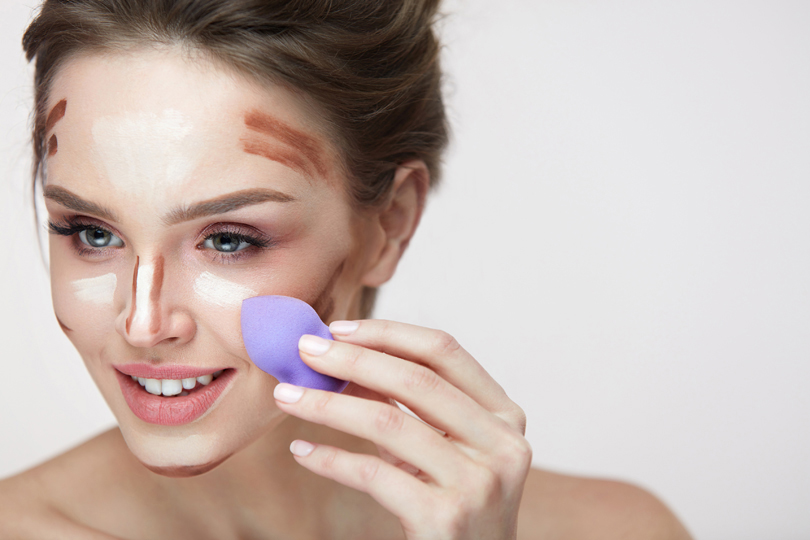
“Contouring is the act of shading with makeup, reshaping or receding an area of the face,” explains Côté. “Making the cheekbones pop is the most natural way to begin. Whether you want to have naturally defined cheeks or if they need a little defining, it’s easy to position a contour product in that area and even pair it with blush and bronzer for additional warmth and colour. Sweeping colour in a curved, horizontal motion under the cheekbone will provide a rounder, more feminine look, whereas using contour vertically from cheek to jaw, will give you a more squared, masculine look. You can also contour the bridge of the nose to narrow its appearance; near the hairline to make the forehead look smaller; and even under the chin to define the jawline. Personally, what I love and recommend is using contour to celebrate your individual face shape, not correct it, which makes makeup personalized and fun.”
Cream or powder formulation: what works better for contouring?
“Both can give you a similar end result, so it definitely depends on your preference,” Côté says. “I like a little of both. Creams are easy to blend over every type of foundation and achieve a sheer shaping effect. Use powder contour shades on top with a soft brush to perfect the shape, sealing and securing the cream product beneath.”
Can you share a quick Contour 101 lesson?
“On top of freshly moisturized skin, apply your foundation of choice to perfect and even out skin tone,” Côté shares. “Then use a dab of concealer where needed for additional coverage, followed by a cream contour in the areas you need it and blend well. Powder your face lightly, then begin brushing on powder contour in key areas. If desired, finish with bronzer and blush.”
What type of tools do you recommend for contouring?
“Sponges are wonderful for stamping and placing colour, however, I’m a fan of brushes when it comes to contour,” Côté says. “A brush helps with blending and creating gradations of colour and tone which makes the contour much more realistic. My contouring choice is the MAC 109 Synthetic Small Contour Brush, because its precise, rounded shape allows me to tap the product (whether cream or powder) into place, then use small, circular motions to fade the edges. One tip to share: when applying contour products, once the brush touches the face, don’t lift it away from the face, since this can create ‘empty’ patches, and the skin will show through. By always keeping the brush on the face, using circular motions, you will achieve a smooth, seamless contouring result.”
Does practice make perfect when it comes to knowing your contour angles?
“Absolutely, and contour is also very much about intensity—too much product may look theatrical,” reports Côté. “Less is more. A super-simple technique I learned from another makeup artist years ago is to imagine a line going from your earlobe to the corner of your mouth: this is where the shadow of contour should sit beneath the cheekbone. Gently tap your brush once or twice into your contouring product, then start applying it where the earlobe meets the hairline. Sweep the colour, following that invisible line, going towards the mouth and you should naturally run out of product by the time you get past the cheek area. Use circular motions to fade the edges into the rest of the skin.”
5 Essential Contour Products
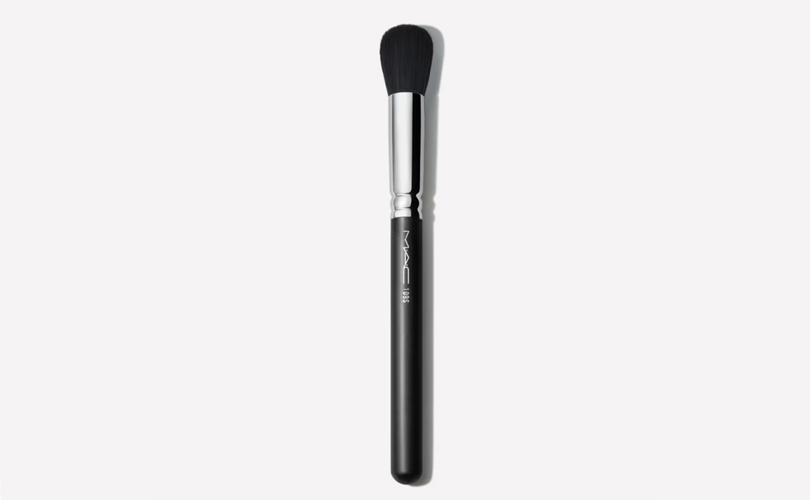
MAC Cosmetics 109 Small Contour Brush
$44, maccosmetics.ca
This synthetic brush is Côté’s top tool pick and is a contour all-star. Use it to apply, blend and contour powder products to create a flawless skin finish.

Charlotte Tilbury Film Star Bronze and Glow
$80, charlottetilbury.com
A Tilbury OG product, this palette remains an often-sold-out favourite. Available in two colour combos, the dual powders contour and highlight every skin tone beautifully.
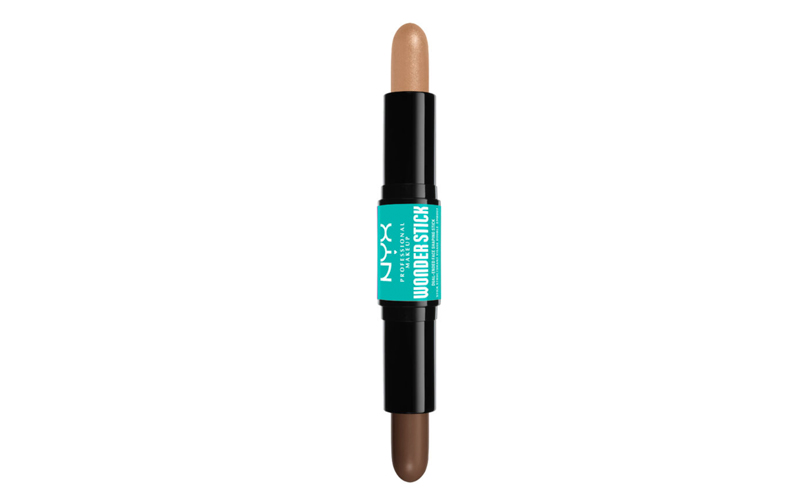
NYX Wonder Stick
$19, nyx.com
This dual-ended stick makes contouring a breeze. Use the darker shade to create shape and angle where you want it; then use the second shimmery shade to give skin a beautiful bounce of light. Available in eight shade combos.
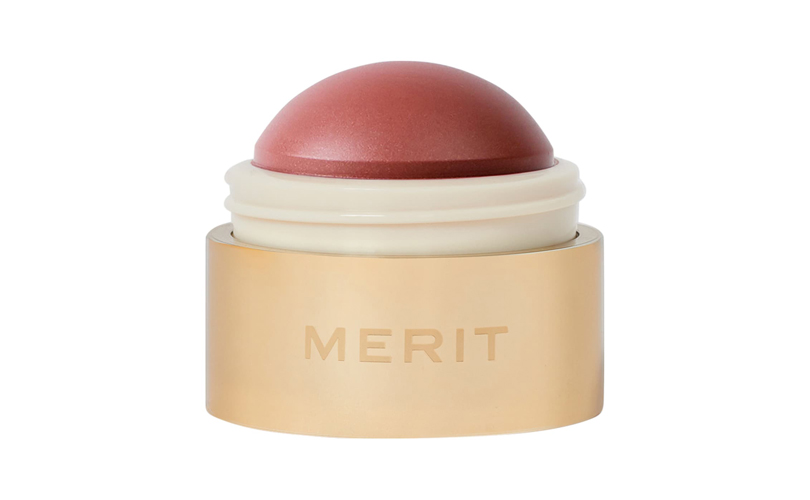
Merit Flush Balm
$36, meritbeauty.com
Clean beauty brand Merit’s buildable cream formula is perfect to use for a quick blush contour. Swipe on skin, then blend with fingers or a contour brush to create a radiant glow.
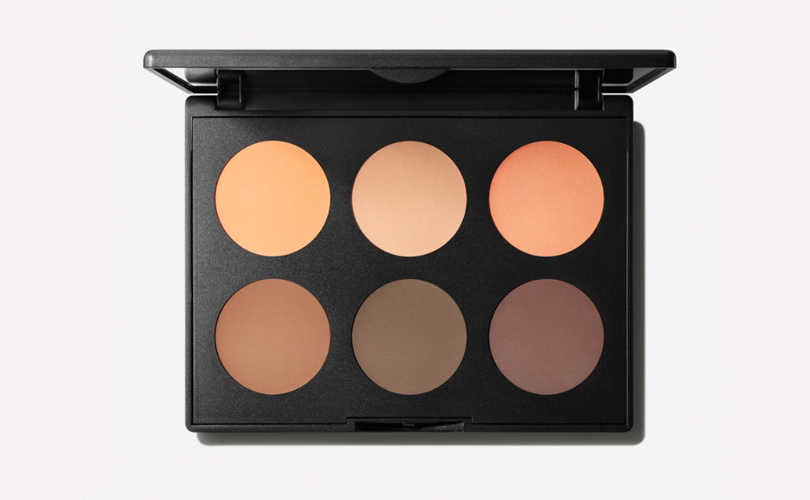
MAC Cosmetics Studio Fix Sculpt and Shape Contour Palette
$51, maccosmetics.com
This contour palette (available in light/medium, or medium/dark) is another choice of Côté’s. There are a range of matte and shimmer powder shades to play with to create your perfect contour finish.
Trending
 10 Memorable Images Of Supermodel Gia Carangi (1960–1986)
  Who Is Madonna Singing About On “Danceteria”? Every Reference Explained
  20 Celebrities Who Posed For Abercrombie & Fitch Before They Were Famous
  20 Actors You Probably Forgot Appeared On ‘Gilmore Girls’
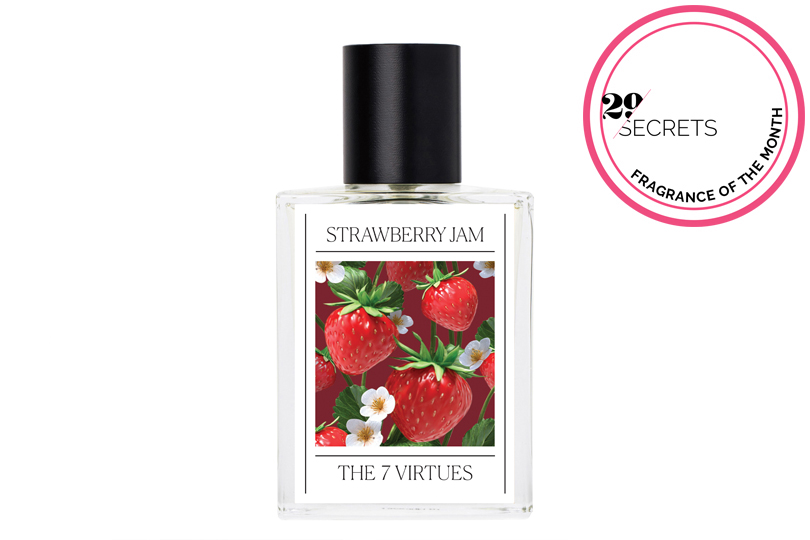
  Fragrance Of The Month: The 7 Virtues Blackberry Lily