The season of flip flops and open-toed sandals is among us (FINALLY!), and before panic can ensue at the outrageous cost of a salon pedicure, remember that anything they can do, you can totally do better! With the right tools and a little helpful advice from us here at 29secrets.com you too can have your perfect do-it-yourself pedicure in just six simple steps! You (and your feet) can thank us later!
Soak
Starting with clean, polish-free feet, begin your at-home pedi procedure by filling your bathtub or foot bath with water slightly warmer than “lukewarm” (this is better for killing bacteria). Adding in half a cup of Epsom salts, a teaspoon of tea tree oil, and a few drops of a refreshing essential oil (think peppermint or eucalyptus), indulge your feet in at least 10 to 15 minutes in this wonderful soak. For a simplier option you can also try a product that includes everything you need like Ruby Room Epsom Detoxifaction Bath in Eucalyptus Mint ($26.40 at eBeauty.ca)
Scrub
Now that the skin of your feet has been delicately softened it is time to scrub away dead, dull skin with a moisturizing exfoliant (try June Jacobs Peppermint Hand & Foot Polish – $46 at eBeauty.ca). Using a generous dollop of scrub, massage each foot for at least a minute or two starting at your heels and working in small circular motions over the srches, toes, ankles, and calves. Rinse with warm water and repeat if necessary.
Buff
Next on the agenda is to smooth away tougher dry skin, as well as those unsightly (yuck!) calluses. Try to find a deep exfoliating pumice stone that also has a gentler side for buffing and softening the skin such as the Tweezerman’s Pedros Callus Stone ($26 on eBeauty.ca). Wetting the stone, add a dollop of liquid soap, and gently (we said GENTLY!) scrape the rough areas of the feet using a back-and-forth motion. Ensure your touch remains light and that you only remove the top layer of skin. There is nothing more unpleasant than red, painful feet in gorgeous summer sandals!
Trim & File
With a pair of stainless steel toenail clippers carefully trim your nails straight across (Tweezerman Barrel Spring Toenail Nippers – $48 at eBeauty.ca) being very careful not to cut so close that you clip the skin (ouch!). Next take a nail file and gently file down the edges to remove any sharpness and to help prevent painful ingrown nails.
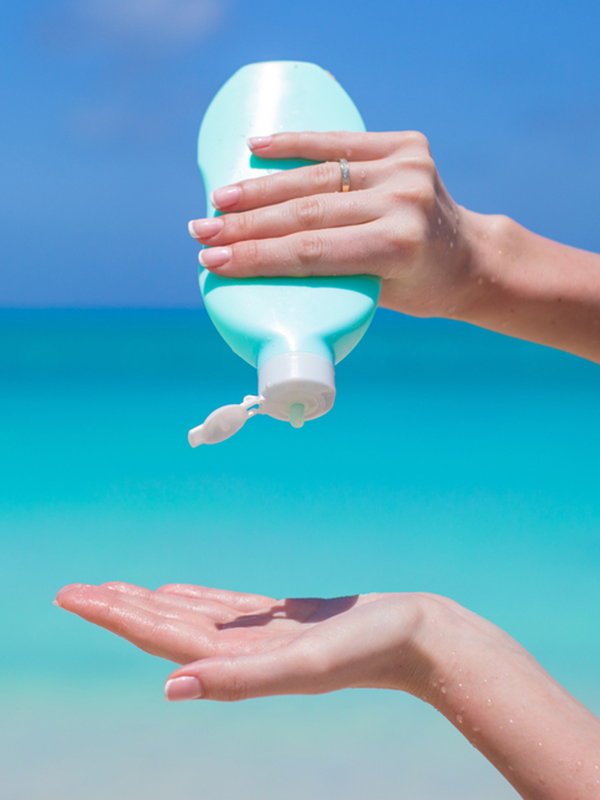
Moisturize
Soften up your soles once again by massaging in a generous amount of foot-specific moisturizer, such as Cake Beauty’s Cake Walk Triplemint Foot Creme ($16 at ebeauty.ca). Work the product over your feet and up your lower legs using your fingertips and knuckles to knead the skin in circular motions, focusing on areas like the arch of the foot as well as each and every toe.
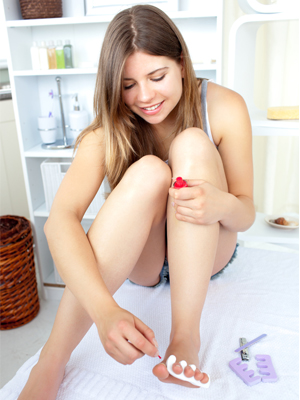
Polish
No seperator? No problem! This is DIY afterall! Roll up a piece of papertowel and weave it in between your toes to create a perfectly easy and effective seperator! Next apply a clear, nail strengthening basecoat such as Ecrinal Flexible Base Coat ($16.50 at eBeauty.ca). Follow with the colour of your choice, starting with a sweep up the center of the nail, moving to each side, and finishing with a brush across the edge to seal colour. Leave nails to set for about five minutes and then apply a second coat. Finish with a quick drying top coat such as Butter London’s Hardwear P.D. Quick Topcoat ($21 on eBeauty.ca), to ensure your colour last and lasts!