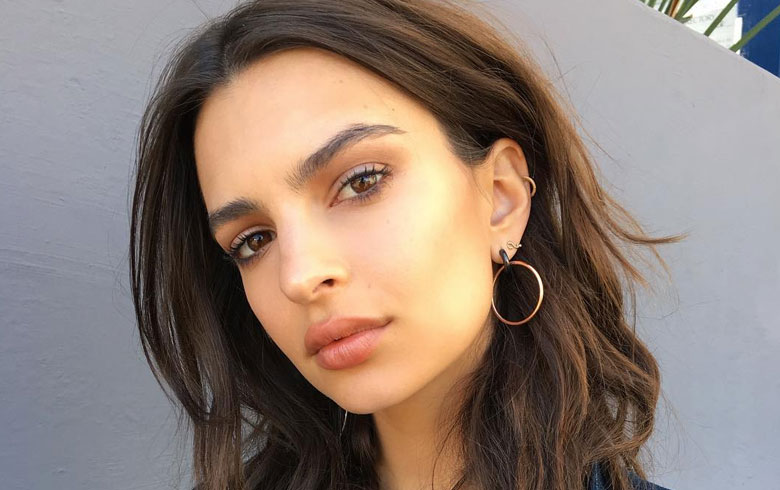
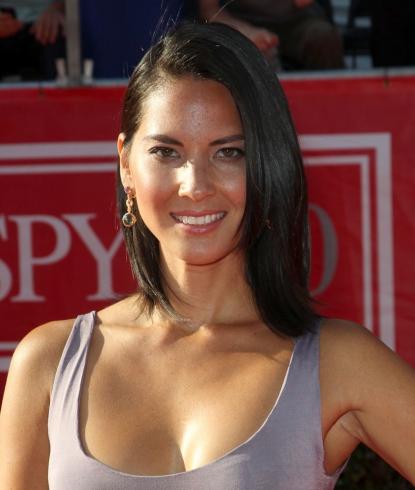
Just like hair, you can have good and bad brow days. One wrong swipe, and you can find yourself in front of the mirror for an extra 20 minutes (oh, we know). While it may be tempting to blame your products, sometimes it’s a result of over-plucking, brushing brows in the wrong direction, or just filling them in WAY too much. So we spoke to Maddox Lu, senior national education manager and national brow and trend artist for Benefit Cosmetics Canada for the final word on how to get your best brows ever. Here are his top brow Dos and Dont’s.
DON’T over-pluck your brows.
One of the biggest mistakes: When people thin out their brows way too much. Having more to play with is definitely better than not having enough. I recommend plucking every four weeks, to be honest. Hold the temptation and don’t tweeze premature hairs. When you go in and remove one or two random hairs, you lose sense of the bigger picture and end up removing something that you’ve actually needed.
DO use a magnifying mirror.
When it’s time for plucking, the more you can see your brows, the better. That’s your face and you don’t want to remove too much accidentally. If you’re doing it properly, you want to be [tweezing] one hair at a time.
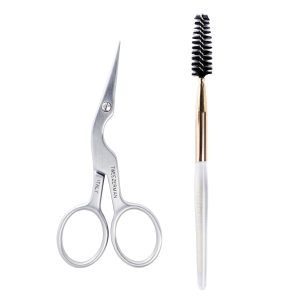
DO trim your brows — the right way.
Trimming is so specific. Use safety scissors with a little curve on the blade. For ultimate precision, the rule is, if you trim above your brow, you wanna hold your scissors in a smiley face kind of curve ”so it curves up”and away from your brow. When you’re trimming the bottom of your brow, you want to hold it so the curve is [frowning].
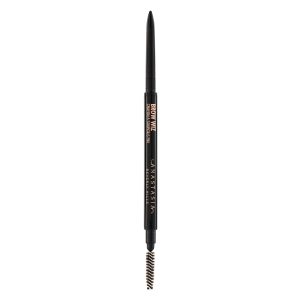
DON’T brush your brows downwards unless you have to.
When you brush your brows up as you style them, it gives you that kind of eye-opening, very lifted effect. At the same time, there are people who have hairs that grow naturally downwards and you never want to work against what you’ve got — you want to work with it. If your brows naturally grow downwards, brush the hairs downwards to keep them all in place in that direction.
DON’T rely on stencils for shaping your brows.
Stencils will help a beginner find their general start, arch and end, but they can be very cookie-cutter. They’re not personalized. If you start there, you learn where your points are and kind of customize them and then graduate from them; you’ll be in great shape. But to lean on stencils permanently, I think it could take away the fun of all the different styles you could be wearing. Instead, get your brows professionally done or use the brow mapping technique.
Brow mapping is a technique we use on every single client before we style the brow or before we wax their brow. It’s when you find your start, arch and end.
Here’s how to find your start, arch and end:
Start: Take a pencil and put the point of it on the dimple of your nose (that’s probably where you’d get a nose piercing). Starting from the dimple of your nose, go straight up your nose bridge and pass it through the inner corner of your eye; that’s where your brows should start.
Arch: Put the point of that pencil on the corner of your nose (right beside your nostril) and you want it to pass through that little space between your pupil and the edge of your iris when you look straight into the mirror. That’s how you find your arch.
End: You want to line up from the corner of your nose again, but line it up with the outer corner of your eye.
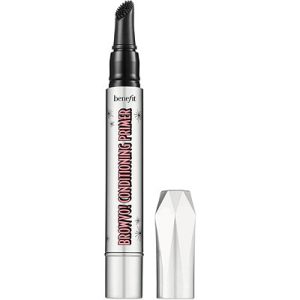
DO use a brow primer.
Prime your brows with a gel and then go in and add either powder or pencil where you need it. You just need to find gaps or sparse areas that may need extra help. BROWVO Conditioning Primer is dual-purpose. It’ll set your brows in place; help your products last longer; the pigment will be richer and you can even wear it as a night treatment [as you sleep].
DON’T fill in the entire brow.
Brows should be treated the same as [your makeup]: you wouldn’t put concealer all over your face if you didn’t need it. You don’t need to apply brow product throughout your entire eyebrow if you didn’t need it. Brows that look too filled in almost look like they’re stamped on. If you need a little more structure, clean up underneath the eyebrow. Or if you need a little extension in your tail, because maybe your brow ends a little too soon, you would only put product there.
DON’T underestimate a clear gel.
For people that are very naturally blessed with perfectly wealthy brows, they can just do with a clear brow gel.
DO use more than one product to fill in your arches.
You can’t get the perfect smokey eye with just one eyeshadow. You can’t get beautiful, luxurious hair with just a can of hairspray. It’s the same thing with brows! You want multiple products for a proper routine and to build texture to give you the ultimate results. For subtle dimension and texture, brush 3D BROWtones Instant Colour Highlights, which adds depth to the brows. It’s kind of like a little mascara for your [brow hairs].
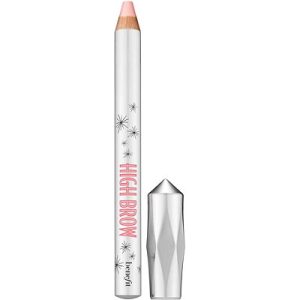
DON’T forget to highlight the brow bone.
Use a slightly lighter coloured eyeshadow or a highlighter on the brow bone to ‘lift’ the eyebrow. Use something like Benefit High Brow Highlight & Lift Pencil, a waxy brow highlighting pencil and it just gives you a beautiful opaque finish. It not only sharpens the look, it’s also the perfect cheat — just glide all over your brow bone and hide all the baby hairs that are starting to come in. It will hide all those baby hairs until you’ve waited about three to four weeks.
