
It seemed like a great idea at the time, offering to host this years Thanksgiving festivities at your awesome new place in the city. Your family is all coming and the expectations are high that you’re going to provide everyone with an amazing and delicious meal. Except…well…you’ve never cooked a turkey before. Fear not! The foodies here at 29Secrets have come to help and teach you the easiest way to cook your first bird without completely screwing it up.
Step One: Thaw the turkey
One of the most important things to do is to ensure that your turkey is thoroughly thawed. If you purchased your bird frozen, you need to give it at least 24 hours in the fridge for every five pounds. If the big day arrives and you still aren’t 100% sure your turkey is thawed place it in a bucket of cold water and change the water every 30 minutes until you are positive it is thawed.
Step Two: Prepare for roasting
About an hour before roasting, take the turkey out of the fridge and remove the giblets from inside (be sure to check both the body cavity and the neck cavity). Place the turkey on the roasting rack and let it sit, taking the chill off of the meat. When the hour is almost up, rub the turkey down with salt and pepper plus any other oils or herbs or spices you desire. Lemons and/or garlic can also be placed in the cavity of the turkey for more flavor. Lastly, preheat the oven to 450°F with the rack on the bottom third of the oven.
Step Three: Roast!
Place the turkey in the roasting pan with two cups of broth or water and place it in the oven, lowering the heat to 350°F. The rule of thumb for cooking a turkey is 13 minutes per pound – so the average 15lbs turkey will take around 3 ½ hours to cook. Make sure you have a good quality meat thermometer on hand, as you will need to be checking the temp of the turkey every 30 minutes or so after you hit the halfway mark.
Step Four: Basting
Every 45 minutes, pull the turkey out of the oven (close the door to keep the heat in!) and, using a turkey baster or a spoon, scoop the liquids up from the pan and drizzle them on top of the turkey. For a crispy, golden brown turkey, you can also baste with melted butter in the last hour or so.
Step Five: Temp check
When testing the final temperature of your turkey, be sure to check in three places – the breast, the outer thigh, and the inside thigh. The meat in all three locations should be at least 165°F. If it is under that in any location put the turkey back in for another 20 minutes.
Step Six: Rest the Turkey
Once the turkey has reached optimal temps remove the pan and tilt the roasting rack (using an oven mitt!) to let the juices from inside the cavity run into the pan. Next, lift the rack and turkey and transfer to a cutting board. Tent the turkey with aluminum foil and let it sit for 30 minutes.
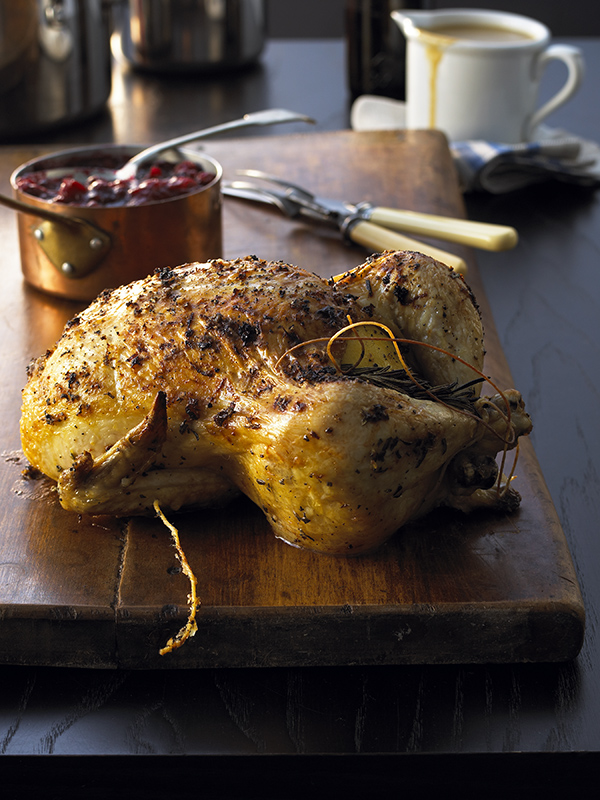
Step Seven: Carve
To carve, start by removing the wings, then the thighs, then the breast. Once you have separated the meat, you can carve each portion individually.
Step Eight: EAT!
Pour a glass of wine, sit down, and enjoy!