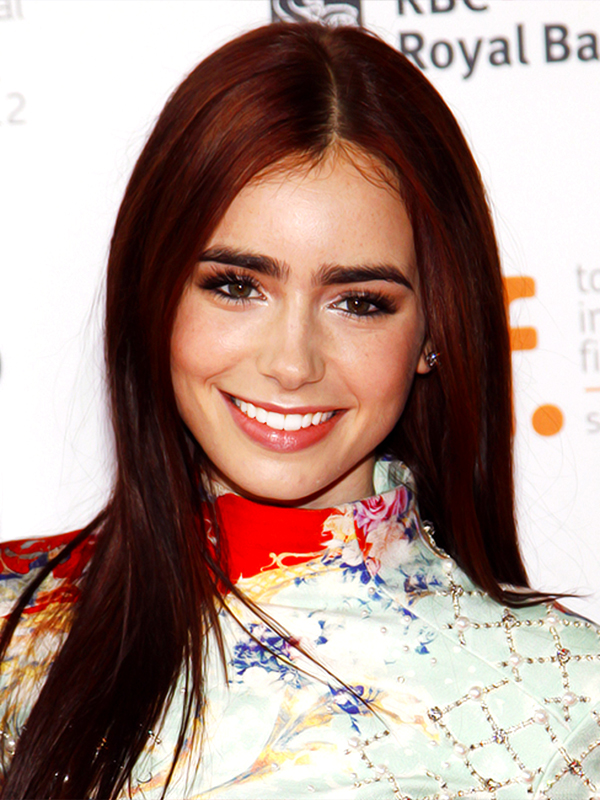
When the ultra-thin, pencil-drawn brows were the “in” thing back in the early 2000s, asking an aesthetician for a Bushy Brow would’ve gotten you some, well, raised brows. Not in 2012. For a couple years now, a fuller, bushy brow has been making a come back in the pages of magazines and on the faces of hollywood starlets.
But for those of us that spent years overplucking during the Christina Aguilera circa 2001 phase, how does one grow back brow hairs that may seem to be lost forever? Read on for some tips on how to achieve that perfect Audrey Hepburn Bushy Brow.
Back to the roots
Trying to grow back your brows all at once may leave you feeling a little uncomfortable about yourself and wanting to call in sick for work. Since growing back the brows you’ve been plucking for years may take up to 6 months, grow them back a row at a time, starting from a row of hair right underneath your current brow shape. This way, your transition will be a lot smoother and easier to swallow. During the transitional periods, try a highlighter crayon or powder to camouflage the stubble.
Fake it ’til you make it
While you’re waiting for the poor little brow hairs to grow back from years of overplucking damage, try using a liquid browliner to literally create brow hairs. Liquid browliners are a little bit different from liquid eyeliners because they generally have a stiffer tip, allowing for greater control. Balancing a pinky on your cheek for a steady hand, draw little brow hairs in the same direction of your natural hair growth to create fake hairs until your real ones grow in. Make sure to use a browliner in the same colour as your natural brow hairs.
Shape ’em
Getting a natural shaped pair of brows is key to framing your face and eyes. You don’t want your brows too close to each other or to far from each other, so try to check in with your brows every once in a while to make sure you’re staying within the best shape for your face. To determine where your brows should start, take a pencil and line it up vertically beside the outer edge of your nostril. If you can see your brows protruding past the pencil, your brows are probably too close to each other.
To determine where the arch should be, line up the pencil at the outer edge of your nostril, then angle it about 45 degrees to get the pencil to line up to the centre of your pupils. Now follow that angle onward to your brows, and where the pencil hits should be about where your arch should be sitting.
To determine where the tail end of your brow should be, line up the pencil at the outer edge of your nostril, then angle it past the arch to get the pencil to line up to the outer corner of your eye. Where the pencil sits should be about the place where your brows end.
Once you’ve determine the shape of your brows, use a white eyeliner to draw your perimeters – it will give you a good guideline to plucking/shaping. Remember, always pluck one brow hair at a time, and never pluck on top of your brows – always underneath.
Fill them in (if required)
For those of us that weren’t born with caterpillars on our brow bones, filling them in is a must. The days of using a dark pencil to fill have given way to using an angled brow brush to apply a powder for a softer, more natural look. Generally the colour rule is to get a brow powder (or even a matte eyeshadow) that is one to two shades lighter than your current hair colour. Using small, soft strokes, apply brow powder to darken and fill in your brows with an angled brow brush that is soft enough to be comfortable on your skin, yet firm and sturdy enough to give you full control.
Gel it up
If filling in your brows is not necessary for you, simply use a brow gel (tinted or clear) to keep your brows tidy and sitting in one direction throughout the day. Brush your brows with a small brow spoolie, then apply brow gel like you would a mascara but in smaller, softer strokes. Make sure you use a matte colour if using a tinted brow gel, so that it doesn’t look like you have vaseline shining on your brows.
Remember, having a full or bushy brow is not the same as having unruly Einstein-like brows. Hair that grows longer than the natural brow shape should be trimmed back. To keep your brows in check, invest in a good pair of brow trimming scissors with a guard – to make sure not to get scissor-happy.
Jenny aka ‘Koko’ is YouTube beauty guru, with her tutorials for hair, makeup and nails garnering a lot of attention. Jenny maintains that she’ll always be a student of the beauty industry – always curious to learn more so she can spread the tips and tricks to the rest of the world.